Lost wax casting technique
Lost wax casting of glass along with the technique ‘Pate de verre’ are the processes I use to make my work. Pate de verre is a process which was known to have been used in ancient Egypt and was revived in France in the 19th century.
I first start by forming a sculpture in wax. This is then invested in a plaster and powdered flint mix to make a mould. Using steam the wax is melted out of the mould. I then mix ceramic onglaze enamel colours with glass frit (fine chips of glass) using gum arabic as a binder. I use Bullseye glass, imported from the USA. The mould is then filled with the coloured glass frit and then placed into the kiln with a reservoir at the top. The kiln is then brought up to the temperature of 800° C and the sculpture will remain in the kiln for several days. Once the mould is cooled I remove it from around the glass sculpture. The work is then cleaned up.The excess glass is cut off using a diamond saw. The glass base then has to be ground and polished. The glass eyes and noses are applied afterwards. The base is then drilled and pegged with brass pins and fitted to the painted wooden base.
|
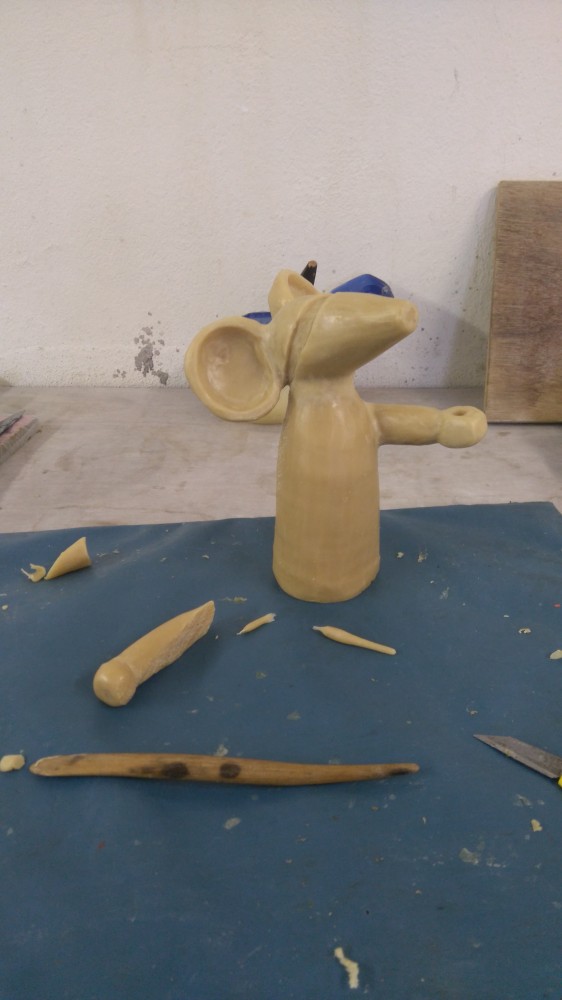
Stage 1 – Modelling in wax.
|
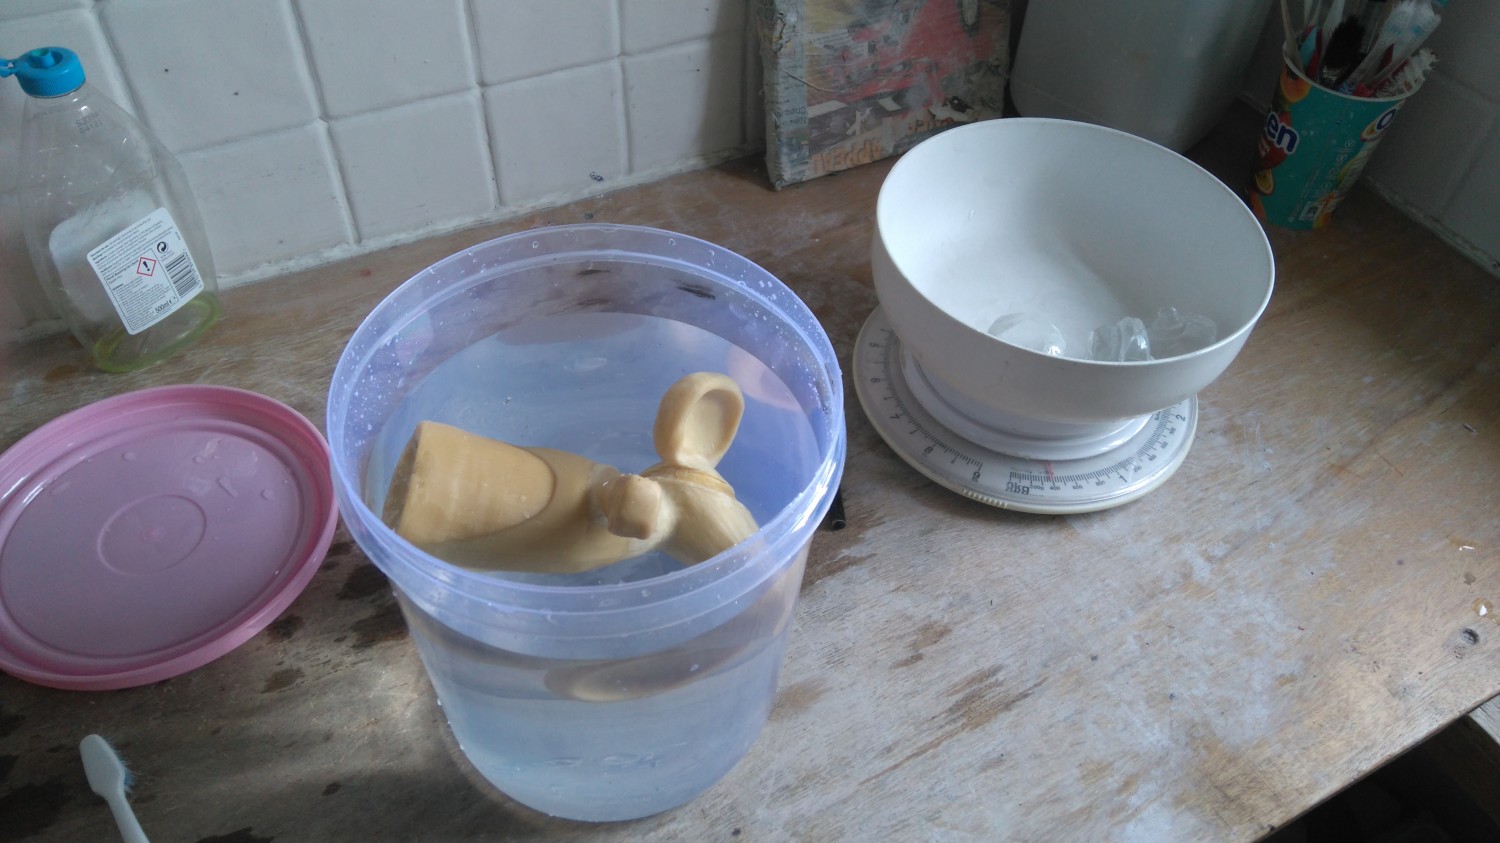
Stage 2 – Displacement in water to calculate volume of glass required.
|
|
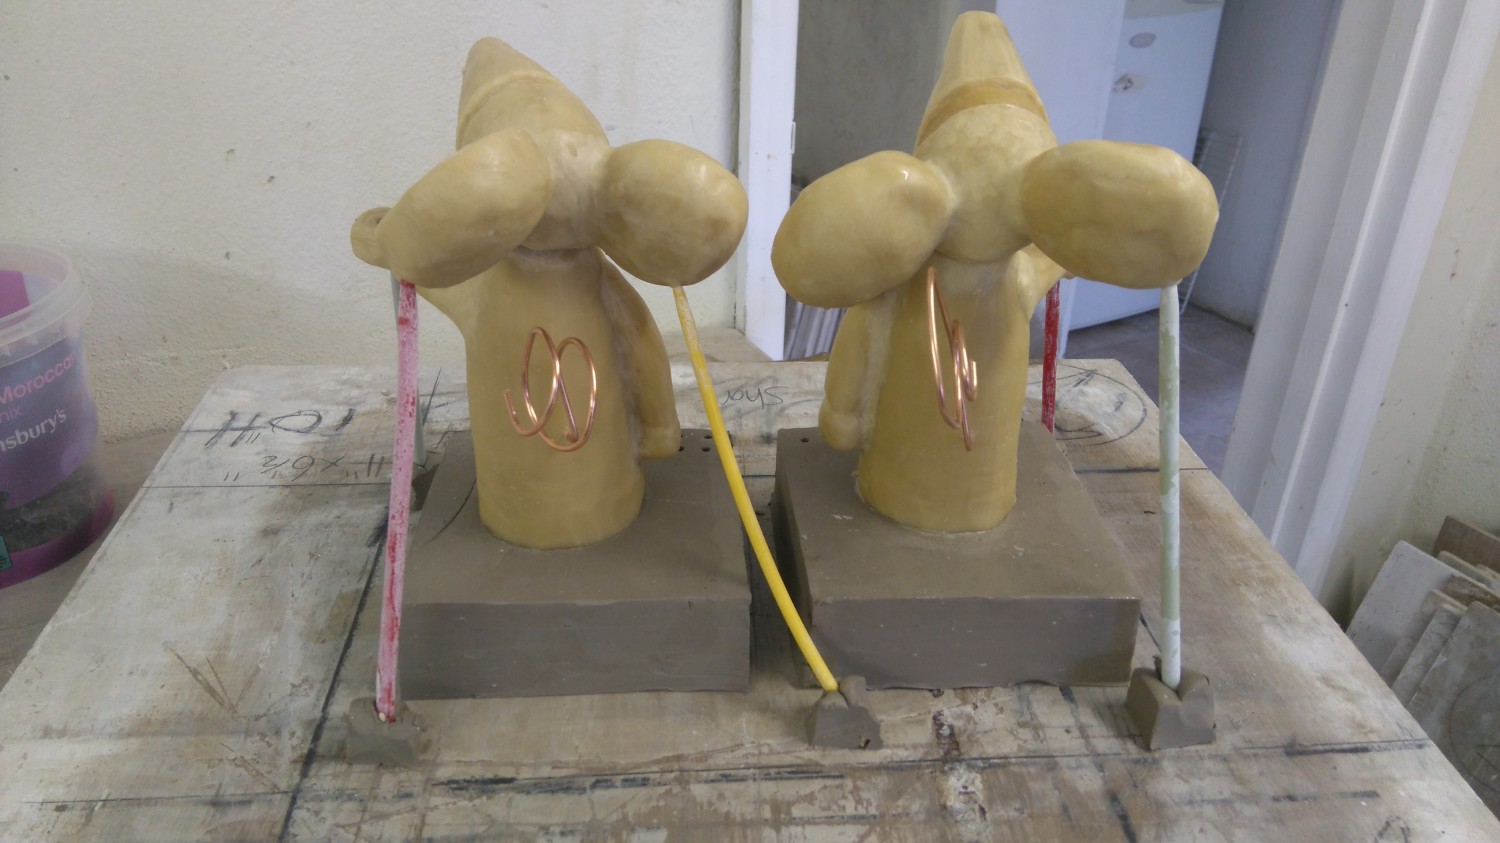
Stage 3 – Adding risers to help flow of molten glass and clearing of wax.
|
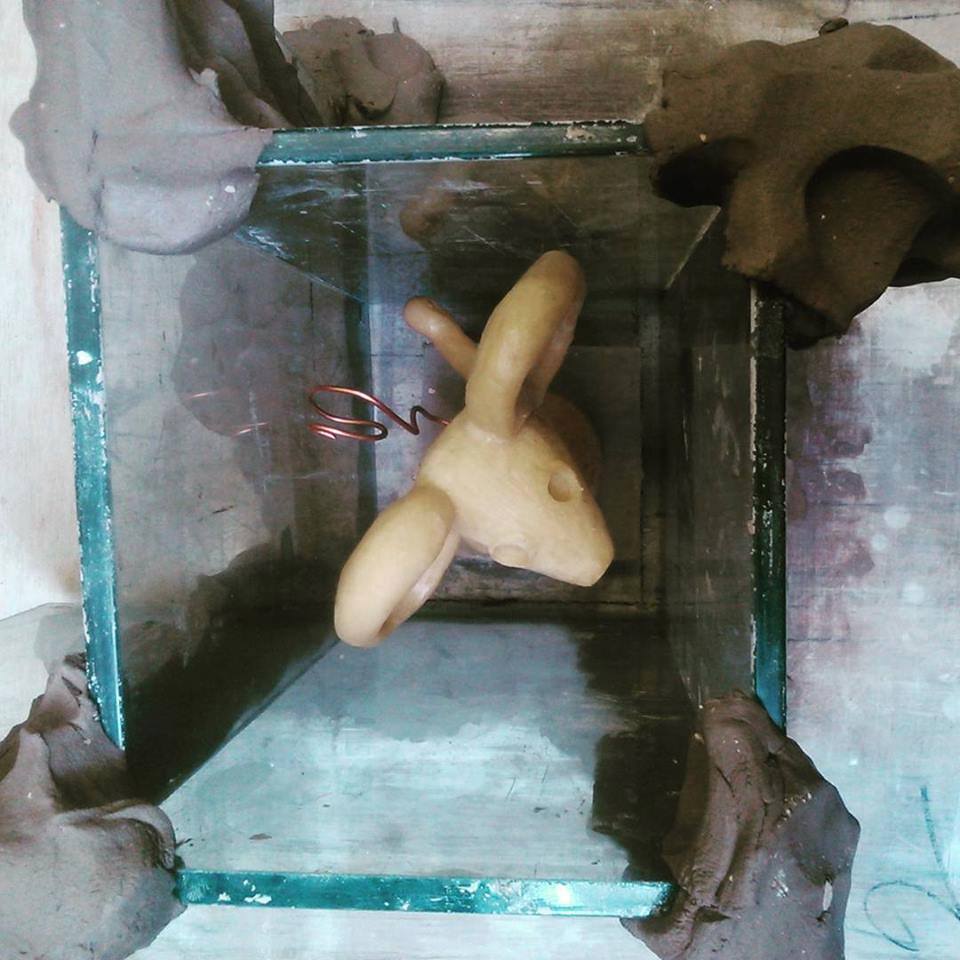
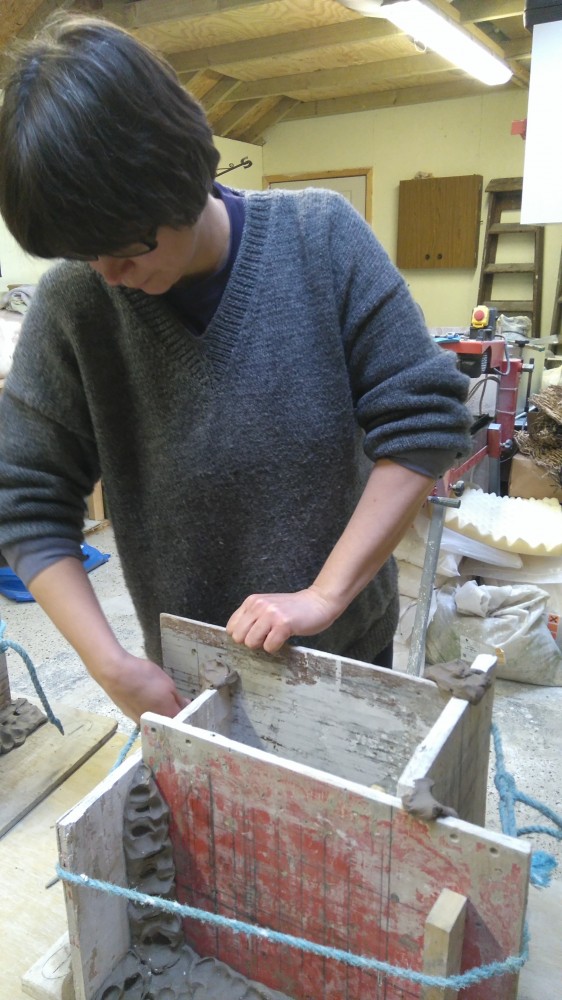
Stage 4 – Boxing up ready to pour in plaster.
|
|
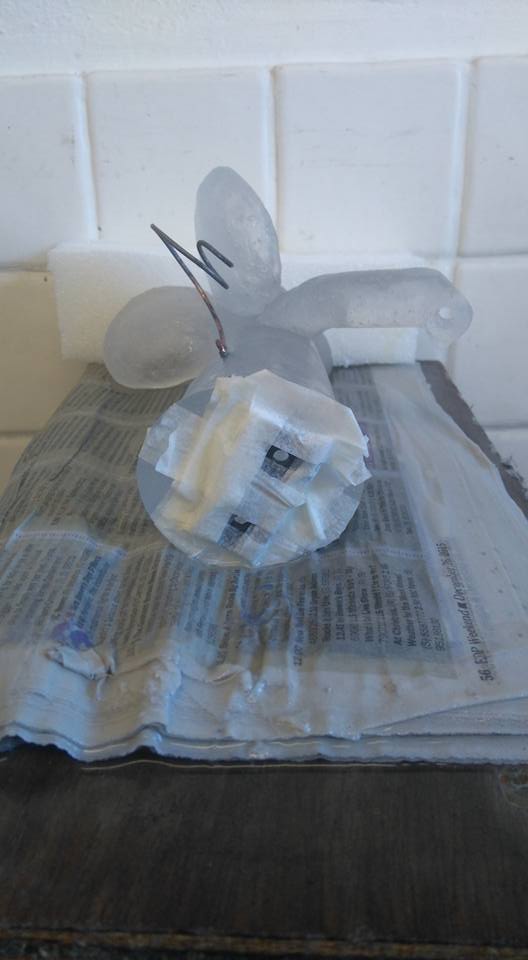
Stage 5 – Encasing the wax sculpture ready for casting.
|
Stage 6 – Securing the box with clay to stop seepage.
|
|
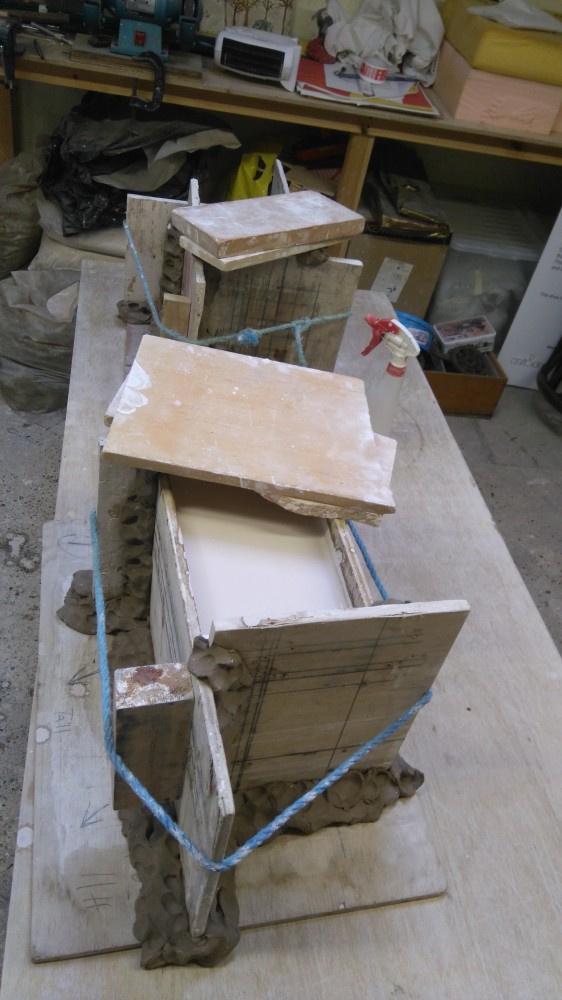
Stage 7 – Plaster pored in and set.
|
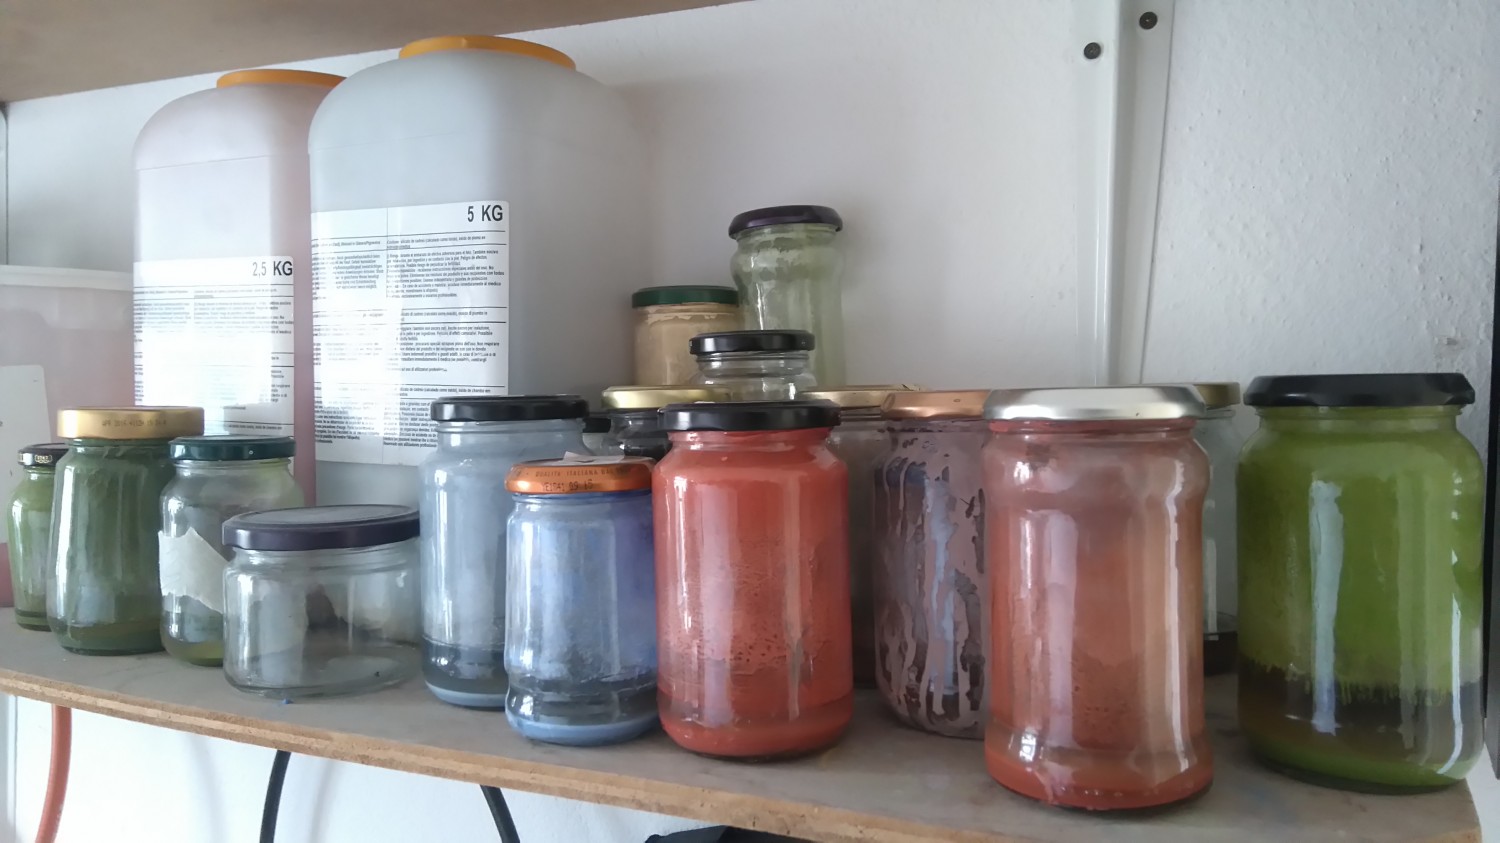
Stage 8 – Various colours of enamel ready to mix with glass.
|
|
Stage 9 – Weighing the glass.
|
Stage 10 – Set up in kiln ready for firing.
|

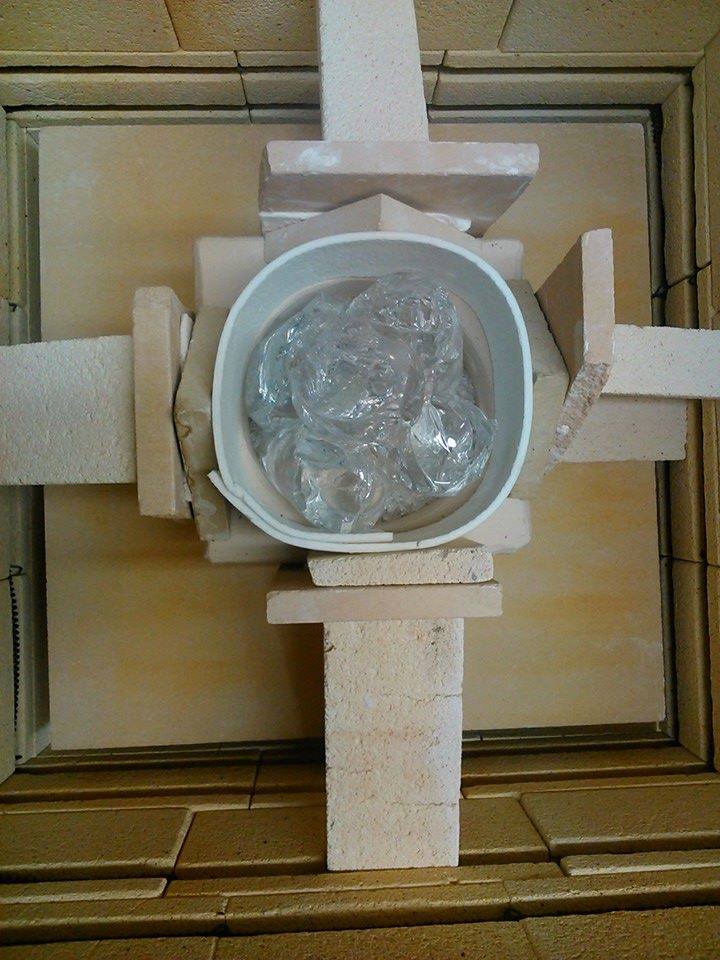
At this stage the kiln is fired up.-
|
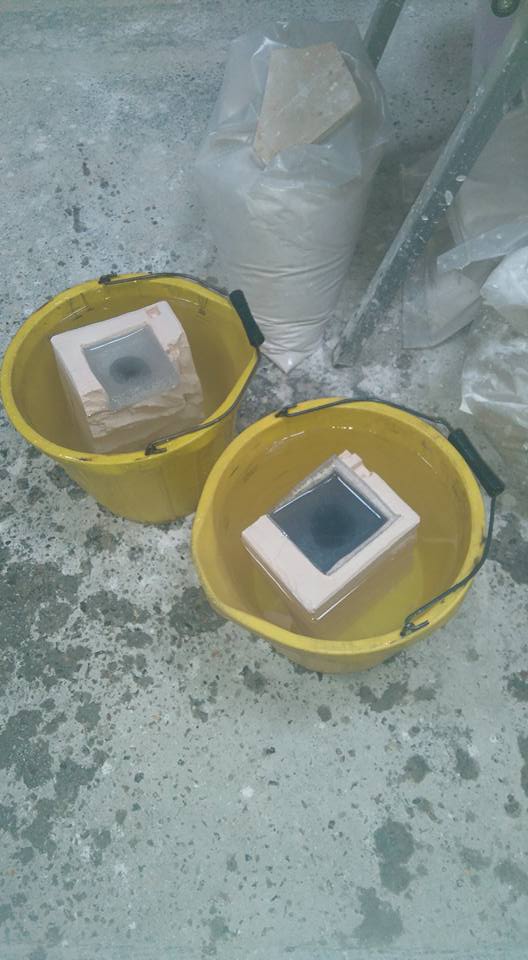
Stage 11 – Soaking the mould.
|
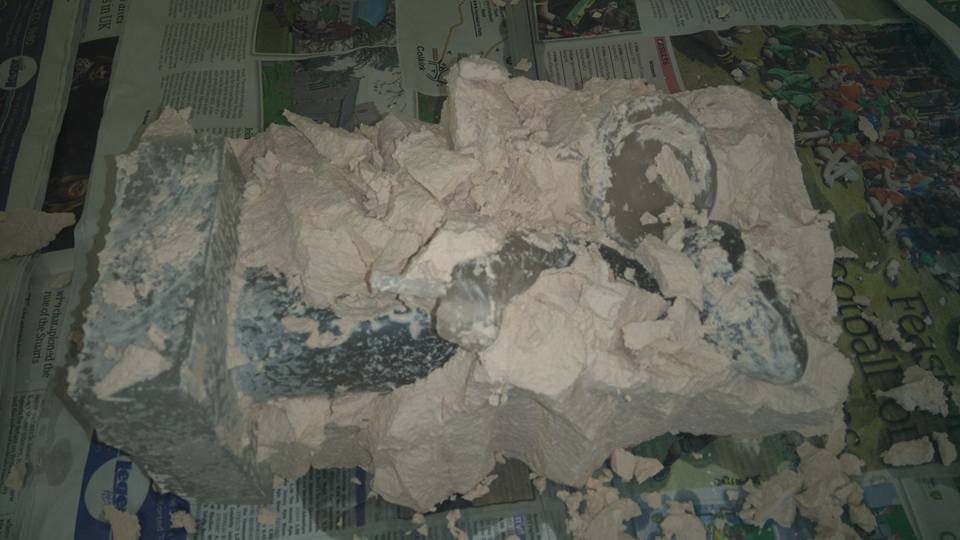
Stage 12 – Breaking the mould open.
|
|
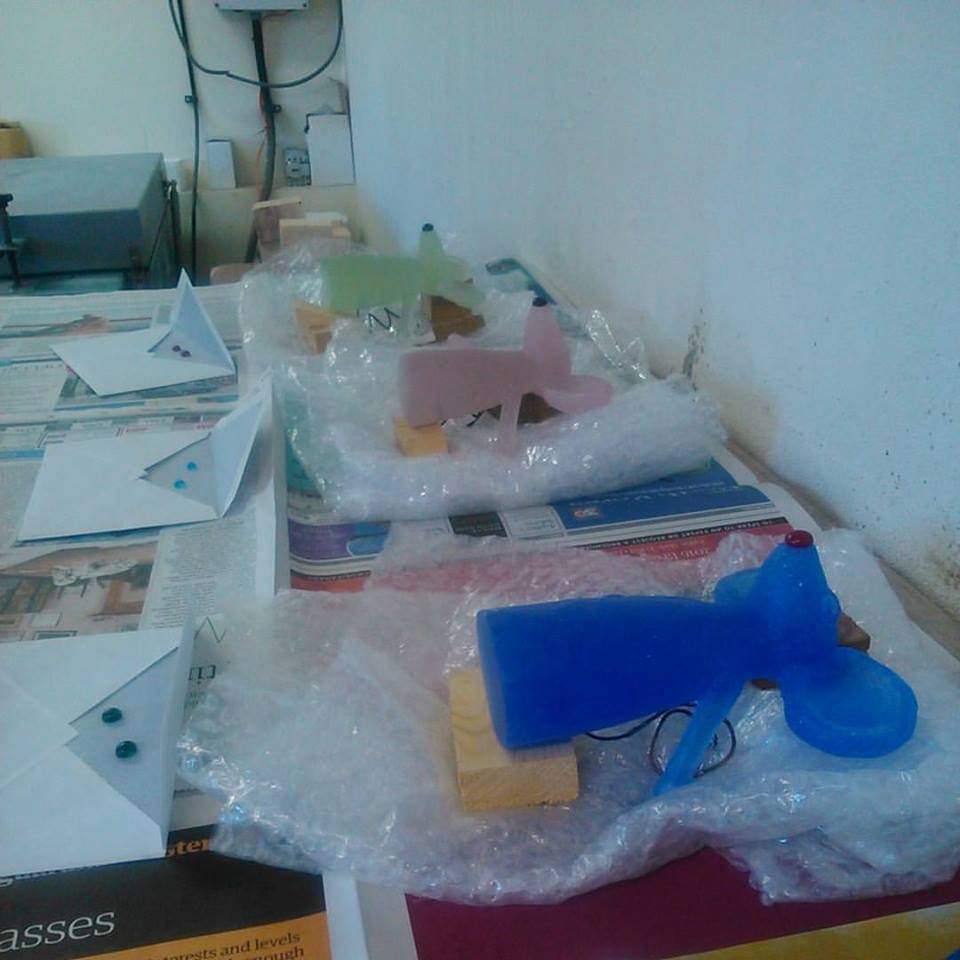
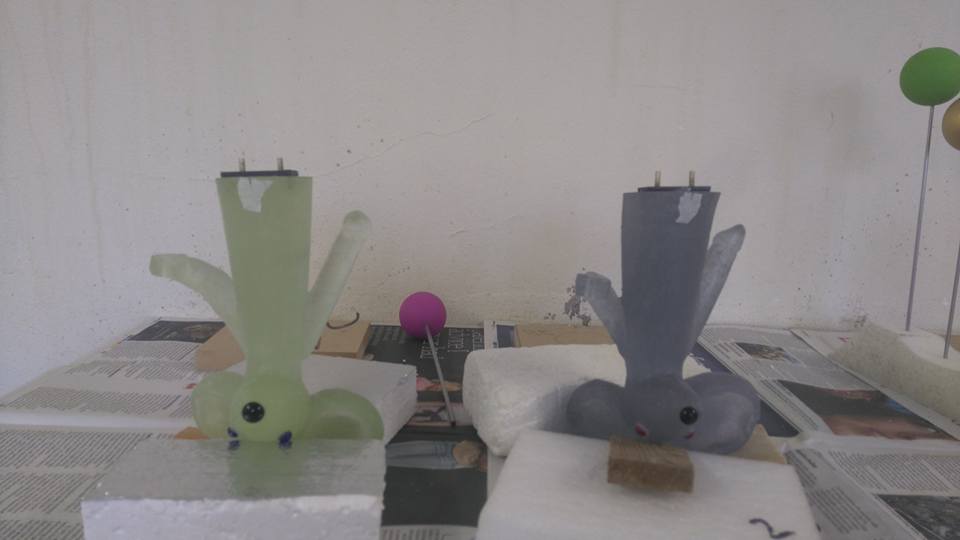
Stage 13 – Glass sculpture out of the mould.
|
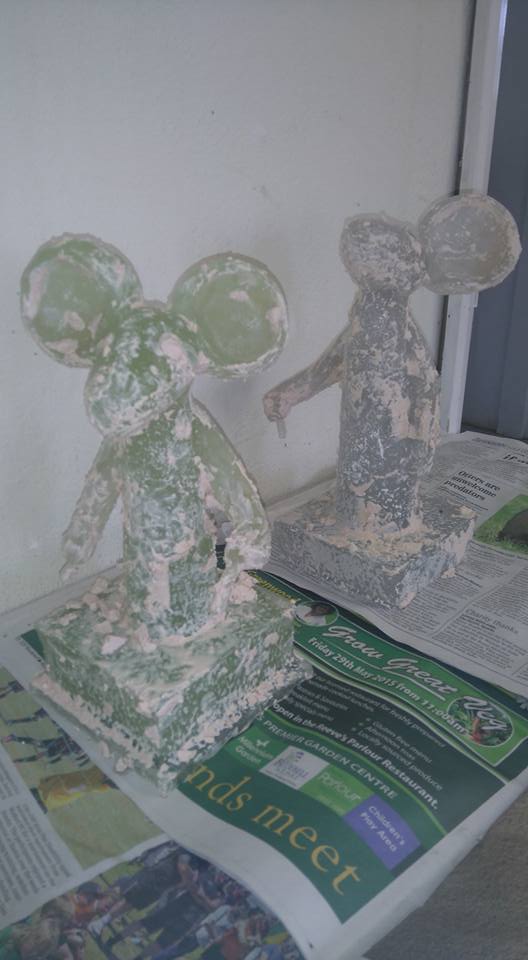
Stage 14 – Glass sculpture out of the mould with excess glass still on.
|
|
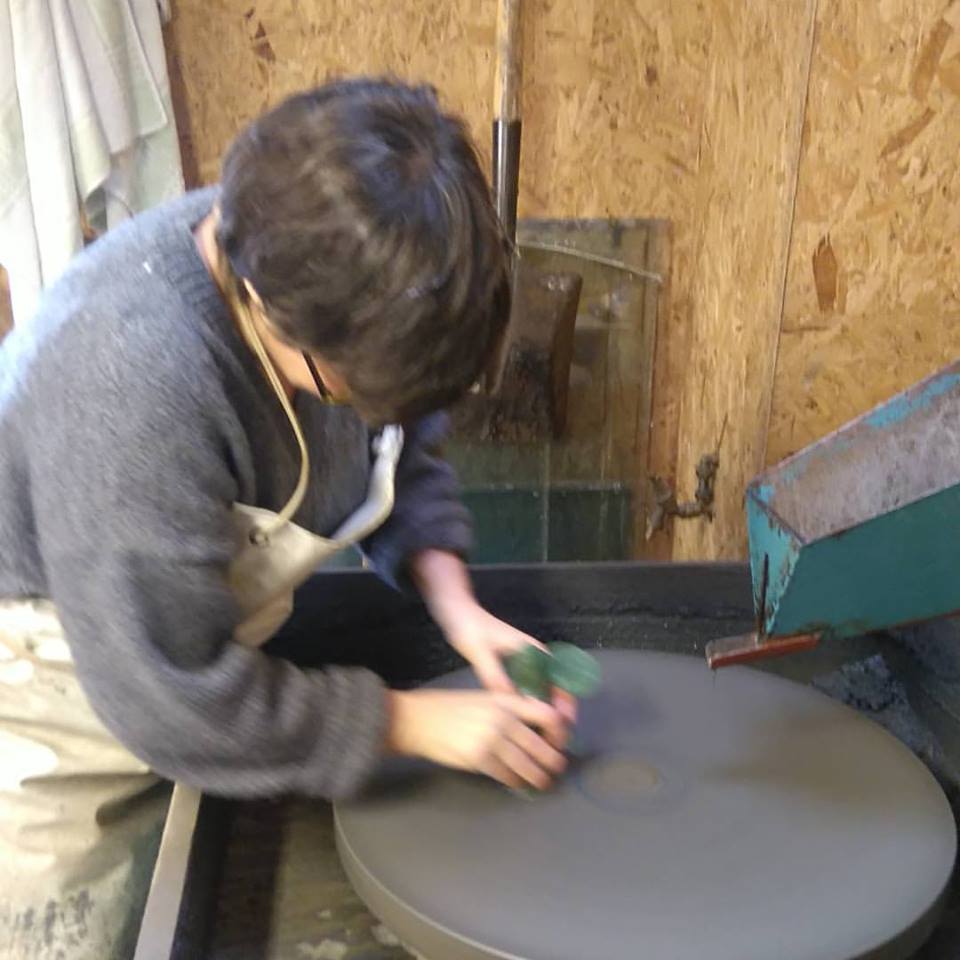
Stage 15 – Grinding base of mouse.
|
Stage 16 – Drilling holes in the base of mouse for pegs.
|
|
Stage 17 – Glueing on noses and eyes.
|
Stage 18 – Glueing pegs into bases for standing on base securely.
|
|
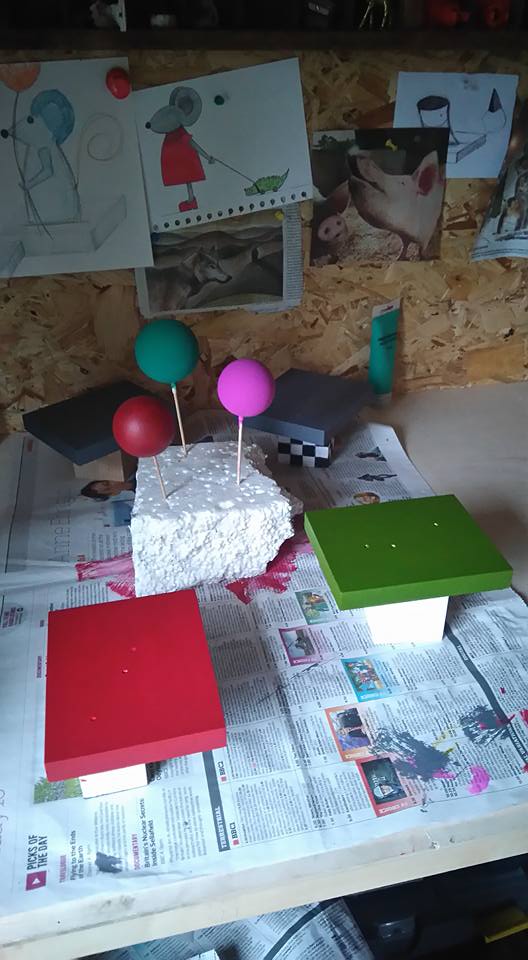
Stage 19 – Painting accompaniments and bases.
|
Stage 20 – The Final Product.
|


Morag Reekie.